Wednesday, February 01, 2006
starting the engine
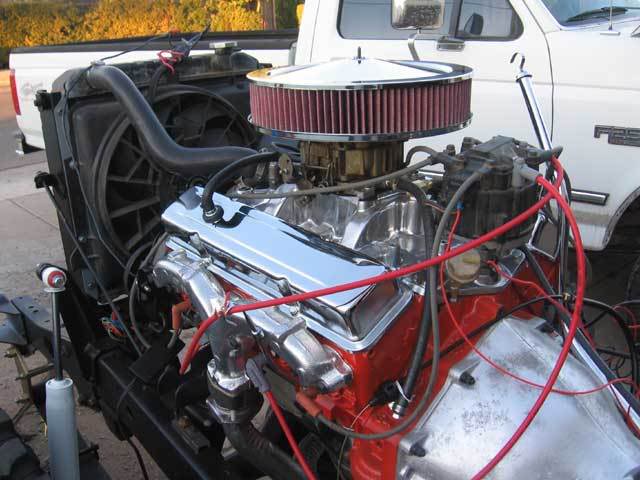
| My dad was down in Phoenix for a week, so I put him to work helping me get the motor finished up and running. Actually, he was doing a lot more than helping me - he pretty much had all of the knowledge and know-how (not to mention a big box of parts), and I was just sort of the wrench-fetcher. My dad had aquired a Rochester Quadrajet carb off of a 1972 Blazer and it looked to be in great shape, so that was one of the first items we tackled. |
 |
|
| The distributor was an HEI unit out of a 1977 Chevy 1/2 Ton pickup. My dad had tested it before he sent it down, and it had a good strong spark. Most of the old wires were in good shape, so we just used those for this test. |
 |
|
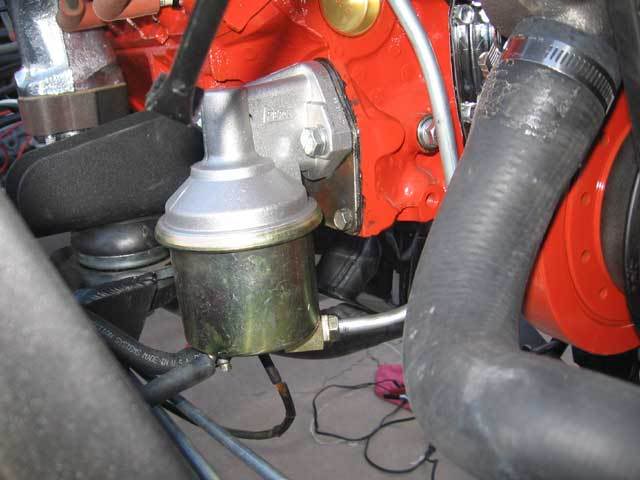
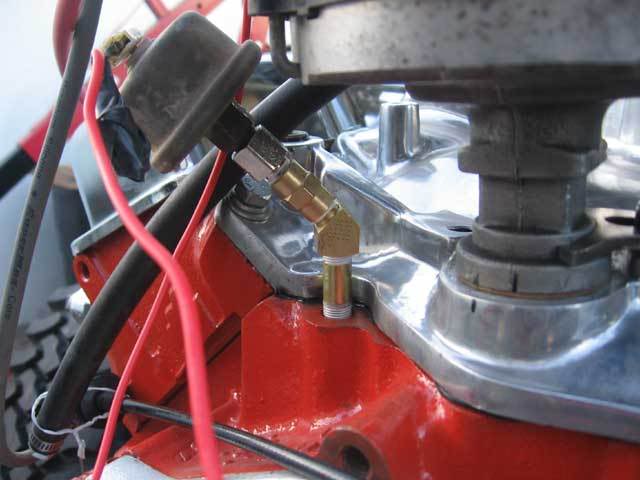
| The water pump and alternator were already installed, so we put on the belt and that was done. We also installed a new mechanical fuel pump and bent up a custom metal fuel line to the carburetor. |
 |
|
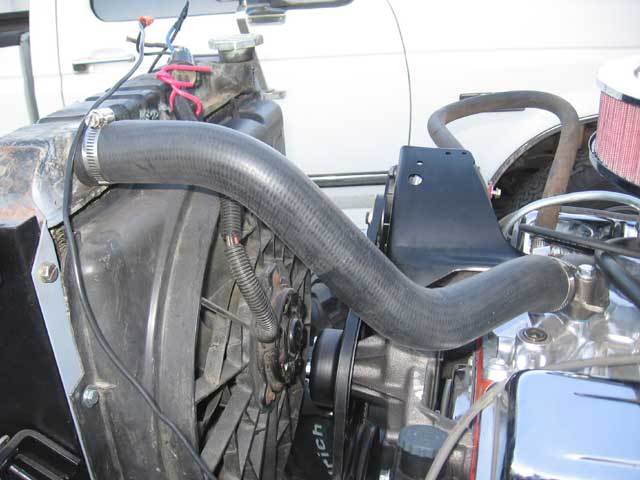
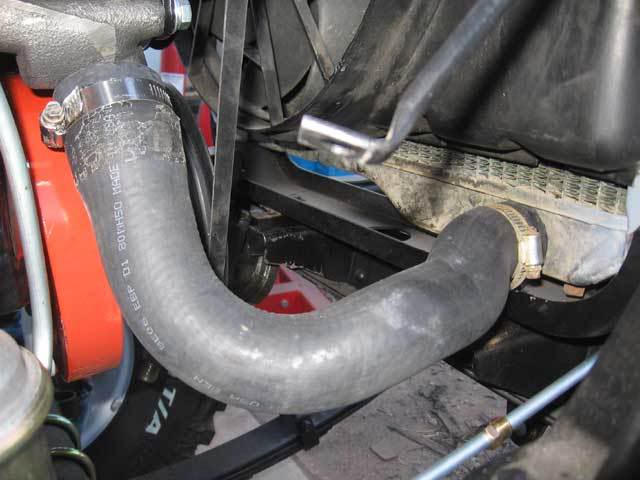
| We mounted the radiator and then had the not-very-fun task of finding the correct radiator hoses. On our first attempt, the bottom hose we got ended up being the right length and shape, but didnt fit the water pump outlet correctly. We didnt know what upper hose would work, so had to settle for a flexible hose. However, the flexible hose also didnt fit over the thermostat housing correctly. We had to make a return trip to Napa, where the parts guys let up go upstairs and just browse all of their hoses. We found two that seemed like they would work, and when we returned home to try them out, both were a perfect fit. (For reference, the upper hose is Napa part number 7884, and the lower is 7651). |
 |
|
 |
||
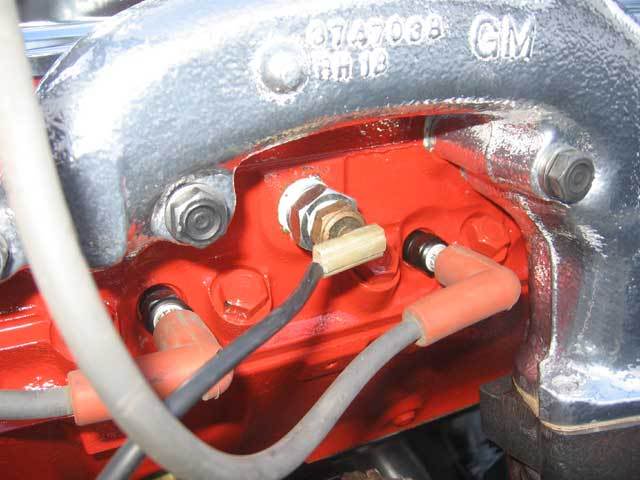
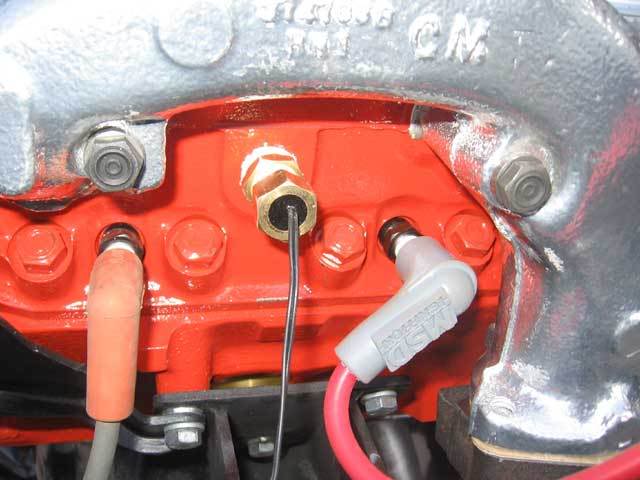
| I re-used the stock Toyota oil pressure sending unit and temperature sending unit. The temperature sending unit screwed right in with a small adapter, but the oil pressure sending unit took a little bit of creative use of fittings to get things to connect up properly. I also installed the electric fan control module into the head, although we didnt hook up the rest of the wiring for this test (we just wired up the fan directly to a switch). |
 |
|
 |
||
 |
||
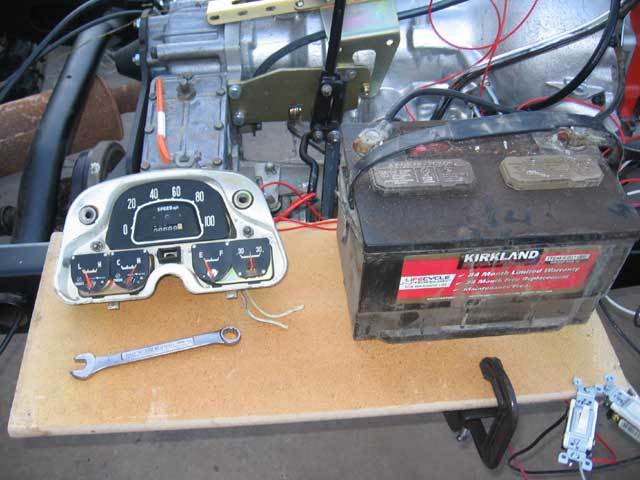
| Finally, we wired up my stock instrument cluster so we could keep an eye on oil pressure and engine temperature. We also wired in some standard house AC switches to simulate the ignition (one to fire the starter, and one to the distributor so we could kill the power). There wasnt a fuse anywhere in the whole mess. Not probably the typical way of doing things, but it ended up working out really well for this test. |
 |
|
|
After finding out that no Napa or Checker stores in all of Phoenix had an oil
pump priming tool for sale or rent, I finally found one at an Autozone. However,
when we went to use it, something wasnt right. The tool wouldnt catch on the oil
pump and kept slipping. We took it out and compared it to the distributor and
found that the tooth that engages the gear was too large to fit into the groove.
Frustrated, we finally ended up disassembling the tool and grinding down the flange,
then putting the tool all back together. After our modification, it worked flawlessly.
As we spun up the drill, the oil pressure gauge began to rise. Once we knew we had
pressure, we put the distributor back on for the final time. We roughly set the
timing using top dead center and then it was the moment of truth. |
 |
|
|
We hit the switch to turn on power to the distributor. Then I hit the switch to fire
the starter. It cranked and cranked, but wouldnt fire. After much deliberation, we
determined that the carb wasnt getting any fuel. We checked a few fittings and fixed
the problem. Time to try again. This time, we hit the switch, and the motor fired
and started! I had been waiting for that moment for almost a year and a half! My
dad quickly dialed in the timing and the engine was running great. It sounds
incredible and we only had one small leak that simply required tightening a hose clamp. I was very excited to finally have an engine that ran. However, the joy was short-lived. After making a few adjustments, when we tried to fire it up again - nothing. The engine wouldnt fire. Argh! We determined that there was no spark. The distributor that was working so well and just had plenty of spark a few minutes earlier was no longer working. It was getting late and I was frustrated, so we called it a night and tackled it again in the morning. The next morning, we did a few tests to try to isolate the problem. We figured it was either the coil, capacitor, or electronic module in the distributor. In order to avoid driving back and forth to the parts store all day, we just bought all three parts (my dad is going to put an HEI in his landcruiser soon, so any extra parts would not go to waste). We changed them out, one-by-one, so we could see what the root of the problem was. First the coil - reassemble and...nothing. Then the capacitor and terminal...nothing. Finally, we replaced the electronics module and put it all back together. I had bad thoughts of it still not starting, but I crossed my fingers anyway. I flicked the switch and the engine fired up - what a huge relief! |
||
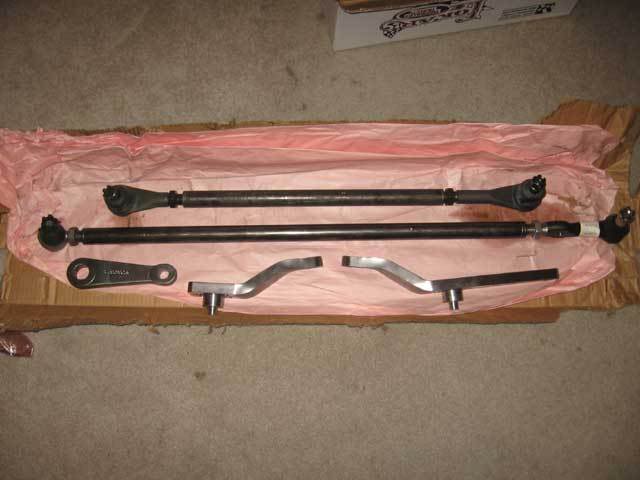
front end
| Now that the engine was running, we decided to move on to something else. I had ordered up a set of 4x4 Labs steering arms from Luke Porter and had been planning on rebuilding the front knuckles when I installed them. Because I installed my steering box a little lower than most, I was able to use the stock flat Astro pitman arm. Only problem was that the stock pitman arm has four indexing teeth on it so that it can only be installed at 90° increments. I broke out the triangular file and filed the indexing teeth out so that I could mount the pitman arm in the correct position. |
 |
|
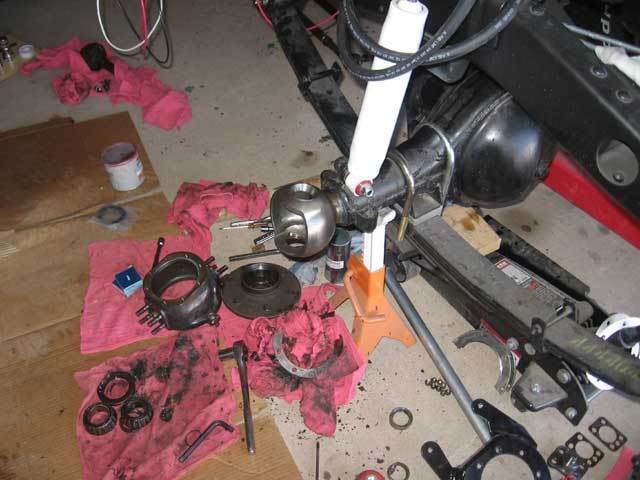
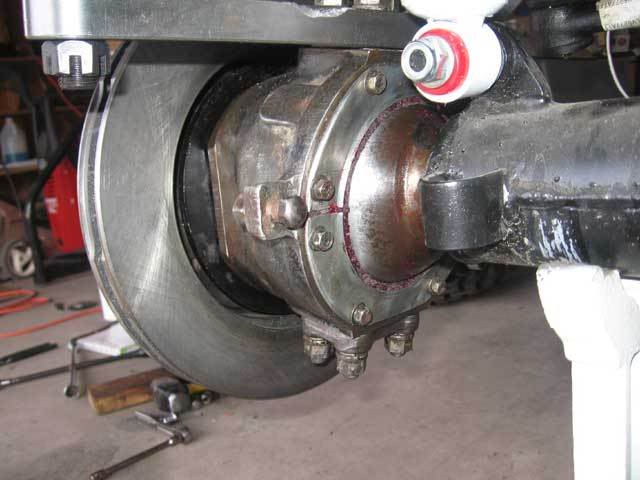
| I knew that the knuckle rebuild was going to a messy job, but I also thought it was going to be complicated. In actuality, it turned out to be pretty easy. We tore down the first side really quickly, and the most time-consuming part was cleaning up the years of caked-on crud that covered everything. |
 |
|
 |
||
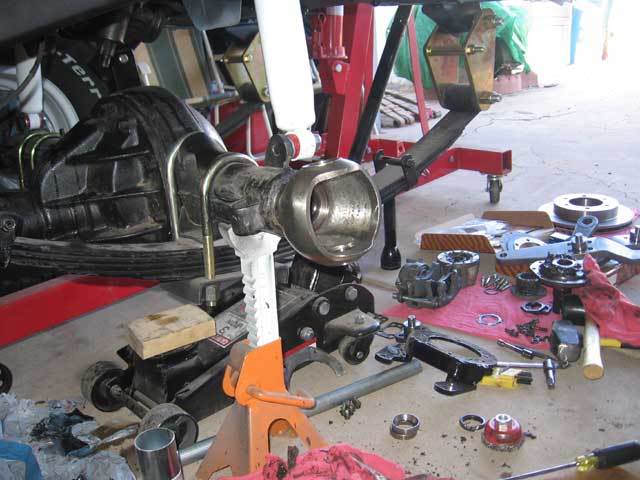
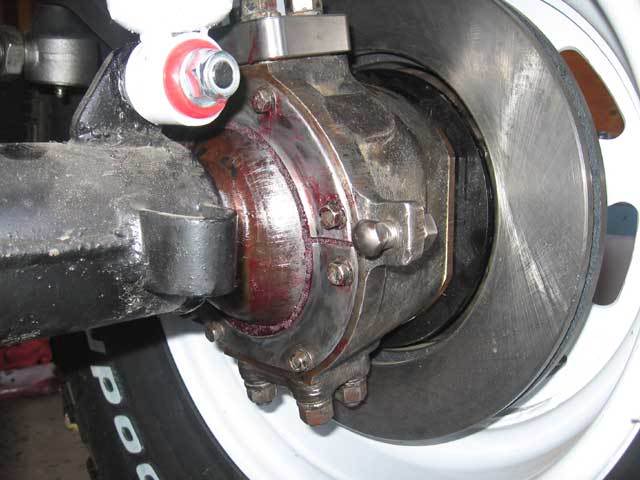
| Once everything was cleaned up, it was time to re-assemble everything. One the first side, the bearing pre-load was too high with the original shims and the new steering arm, so we had to pop it off and add a shim. Oops, now it was too loose, so we popped it off one more time and used the thinnest shim I had. We put it back together and the bearing preload was just perfect. The second side was a breeze after doing it once already. |
 |
|
 |
||
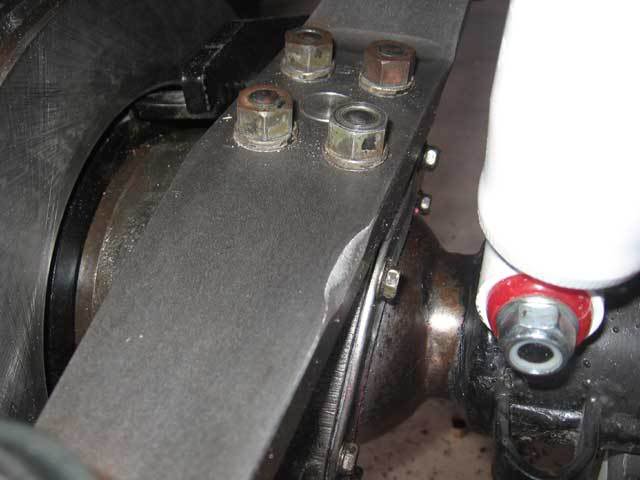
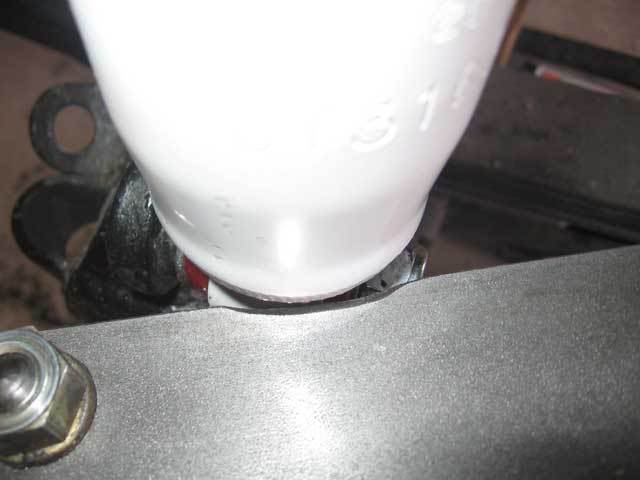
| The 4x4 Labs steering arm on the passenger side was just barely hitting the shock when turned to full lock. I could have adjusted out the steering stops a little more, but just to be safe, I removed a little bit of metal so that the arm would clear without problems. |
 |
|
 |
||
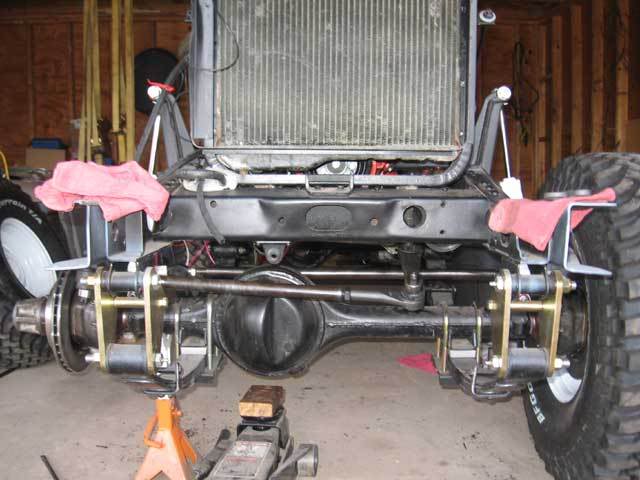
| When it was all said and done, I was very pleased with the outcome. My draglink is almost perfectly paralell to the ground vertically, and almost paralell to the tie rod horizontally. |
 |
|
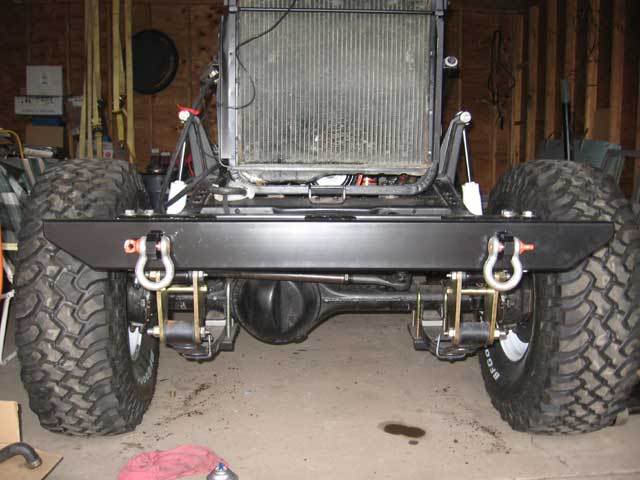
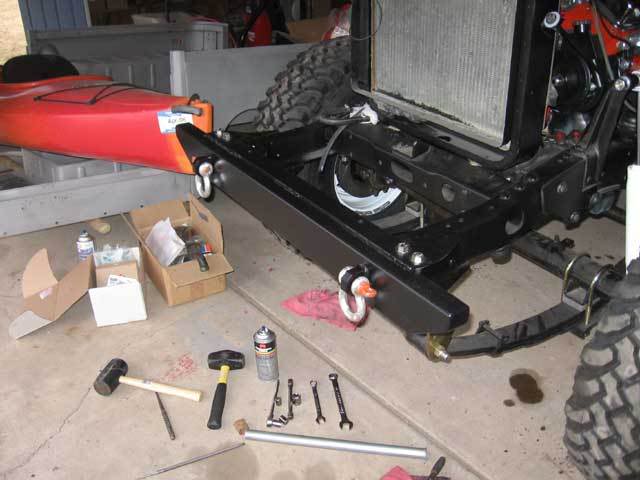
| With the front end all finished, I decided to install the new front bumper. Looks pretty good if you ask me. |
 |
|
 |