| Well, what is the first thing you need to do to do a complete rebuild? Take everything apart, of course. Armed with a few metric sockets, tearing down an FJ40 goes much faster than I had thought. Soon, the parts are scattered througout my garage. |  | 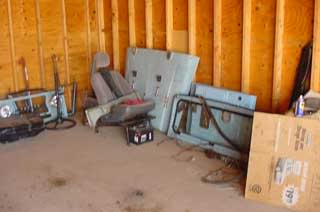
|
| Using the hardtop as a make-shift workbench, I soon had about a 100 little ziplock bags filled with all kinds of nuts and bolts and miscellaneous parts. Hopefully when it comes time to put everything back together, I can remember where all of this stuff goes. | | 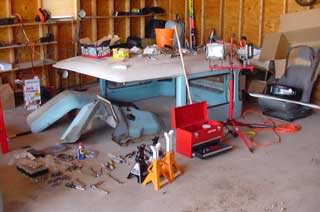
|
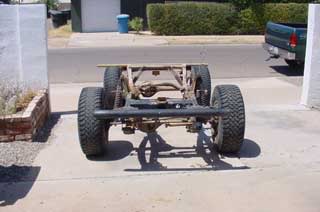
| Once most of the small stuff was removed and the front end was disassembled, all that remained was the tub. I had never removed the body off of any vehicle before, but since the rest of the cruiser disassembly was going so smooth, I decided to tackle it. Using a poor combination of a floor jack, 4x4 lumber, two motorcycle tie-downs, and the rollbar out of the cruiser, i was able to get the body practically all the way off by myself (however, I do not recommend this approach to anyone else). | | 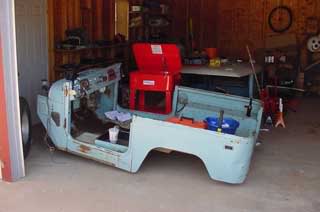
|
| Jason came by to help me finish lifting the body off of the frame. Next up was to pull the engine, transmission, and transfer case. Since the tub was off, pulling the whole setup at once proved to be pretty easy. Once again leveraging the versatility of the motorcycle tie-downs, Jason, James, and I were able to pull everything out in about 15 minutes. | | 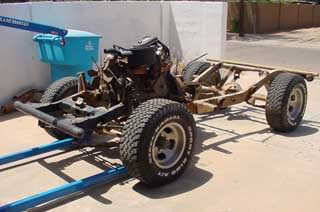
|
| One more shot of the cruiser before she loses her motor. | | 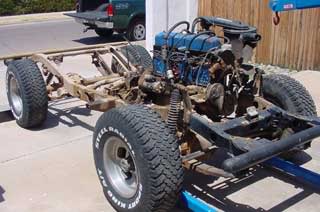
|
| And one more... | | 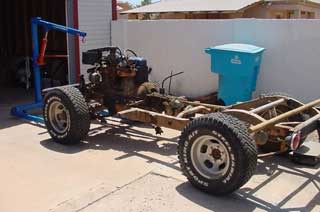
|
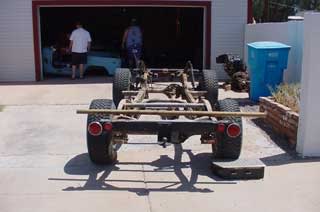
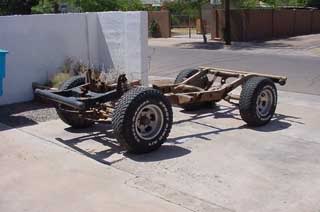
| Fifteen minutes later...the whole setup is out. This old F engine still ran pretty good with good compression in 5 of the cylinders. However, a few burnt exhaust valves made passing the strict Phoenix emissions test an impossibility. Instead of rebuilding the motor, I decided to drop in a small block Chevy engine. But that project is for another day. | | 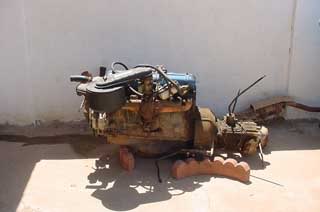
|
| | | 
|
| | | 
|
| | | 
|
# posted by brian dunnington @ 6/01/2004 09:51:00 AM
0 comments
