Friday, April 01, 2005
engine, transmission, & transfer case install
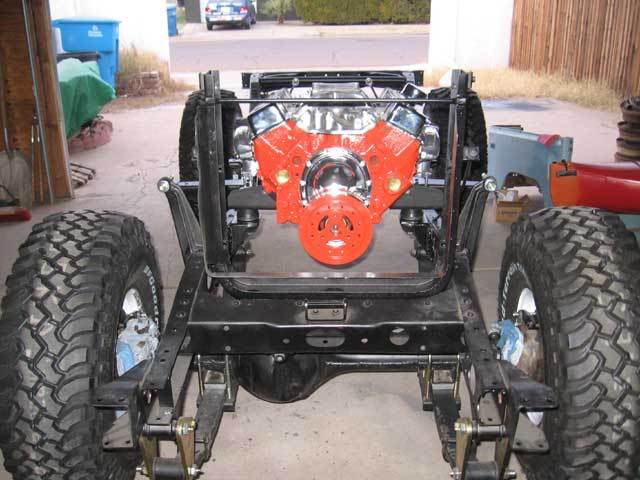
| Here is my new drivetrain pretending that it is all installed. It is a Chevy 350 v8 built by a local guy here in town. Behind that is a th350 transmission and the stock 3-speed transfer case. Although I am trying to do most of the work myself, the transfer case was rebuilt by a local transmission guy (too many small parts in there and no bearing press makes for a hard job to do in my garage) | 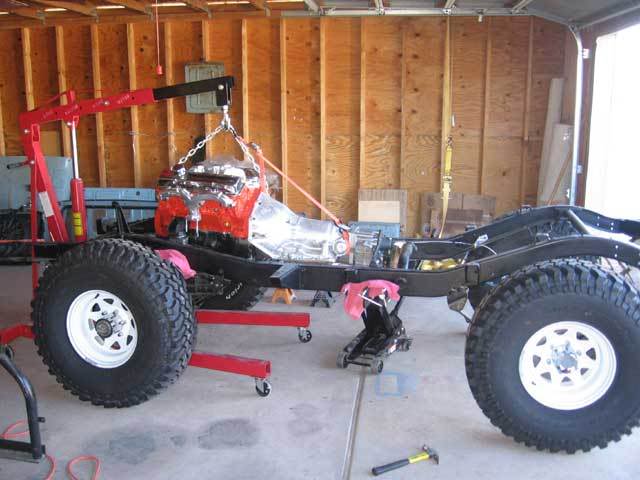
| |
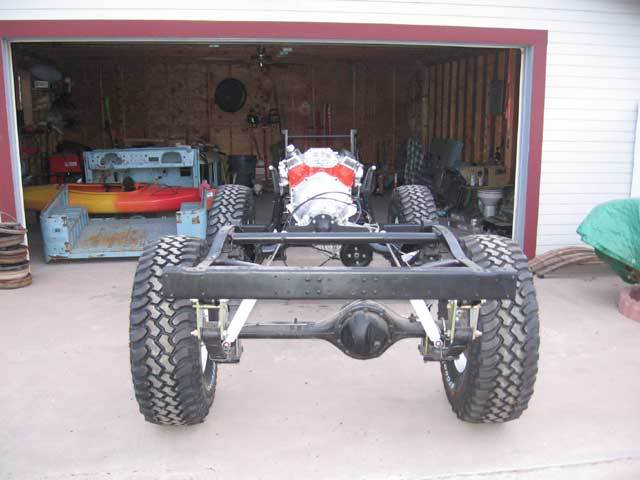
| The rear mounts are pretty close to the tubular crossmember, but with everything installed, the back of the parking brake drum has about 1/2" of clearance. The tops of the mounts sit below the frame, so that with the donuts on top, the mounting point is flush with the top of the frame. The downside to this position is that I have to drop down the whole drivetrain to remove the parking brake or transfer case. | 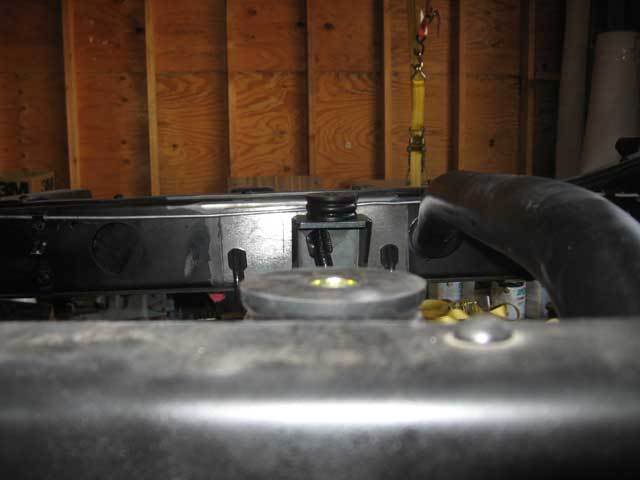
| |
| According to the Advance Adapters conversion instructions, the best place for the front mounts is 8-12" behind the rear of the front shock tower. Mine ended up being about 10" - right in the middle. The Downey instructions suggest that the mounts be 19 1/2" from the rear of the front crossmember. Mine ended up being at about 19". These measurements are for *any* transmission, so with the added length of the automatic, I am very pleased with how it all worked out. | 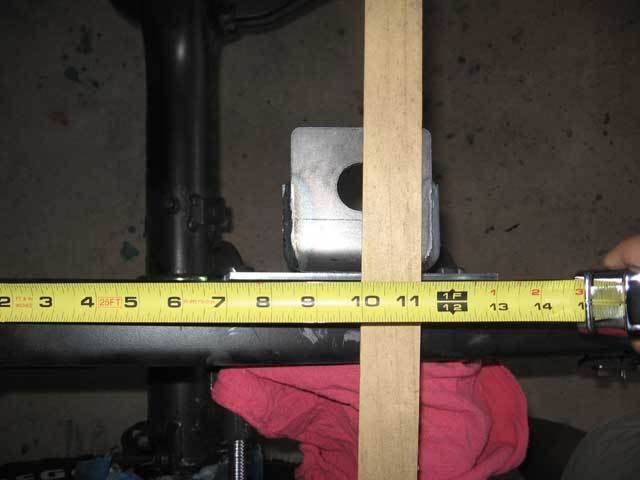
| |
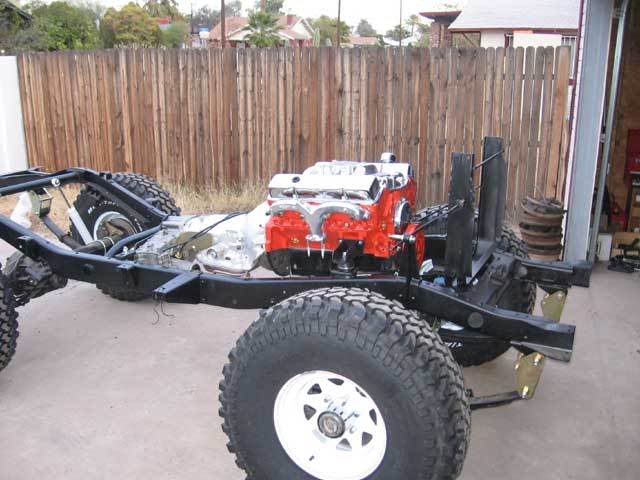
| The front mounts sit slightly above the top of the frame. Since the frame is angling down at this point, the front of the mounts are about 3/8" above the frame, while the rear of the mounts is closer to 3/4". At this height, the motor sits at about a negative 4° slope (front-to-back), which about matches my rear pinion angle. | 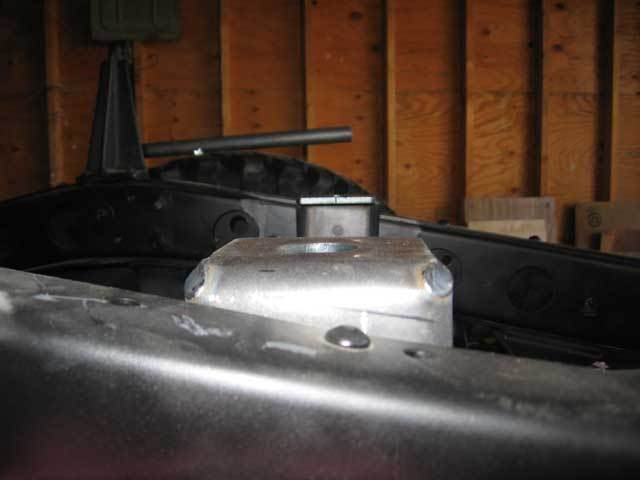
| |
| The transfer case adapter I used was the short style from Downey. It is just barely over 1" in length. I was worried that with the added length of the transmission, my drivetrain would be too long and I would have to relocate the rear crossmember and have a really short rear drive shaft. With this adapter, I was able to keep the rear crossmember in the stock location (see next picture). | 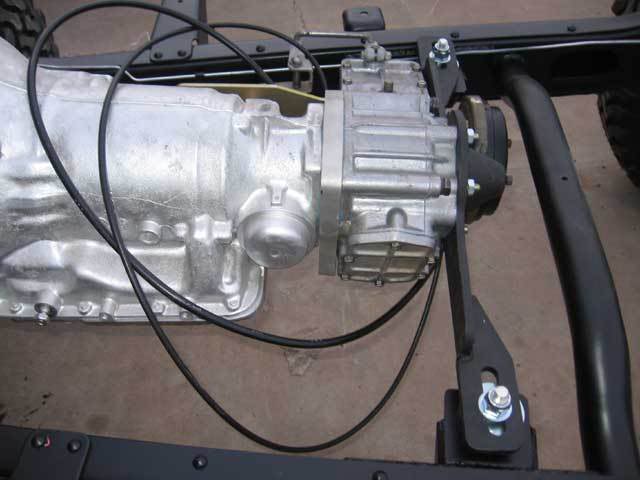
| |
| With the front engine mounts positioned about where I wanted them, I was still able to clear the rear crossmember. I would say there is about 1/2" of clearance between the top/back of the parking brake drum and the crossmember, just enough to stick my fingers in between. | 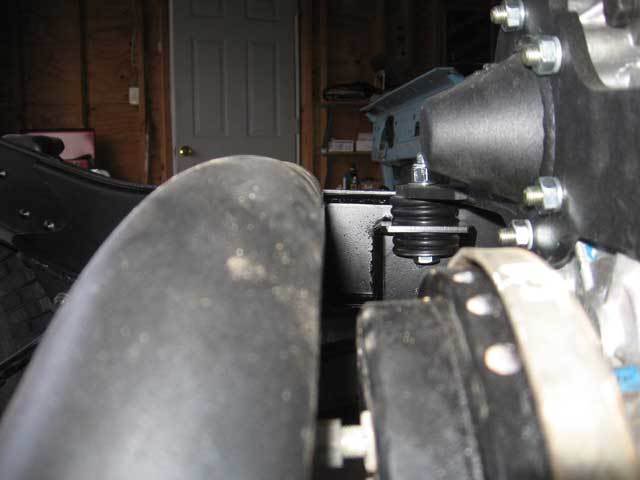
| |
| The downside to the short Downey adapter is that the transmission pan interferes with the front driveshaft. To rememdy this, I had to get a smaller front output flange (not shown). Even with the smaller flange, some minor pan 'modification' was still necessary. | 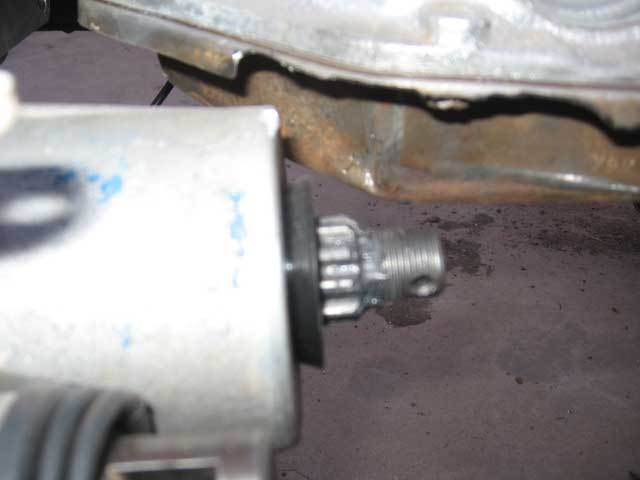
| |
| With the rear of the drivetrain just clearing the crossmember, the front of the engine has just enough room for the water pump and fan. I figured that if space got tight, I could use the short water pump style, but I think that with the electric Taurus fan I am using, the long pump will just fit. | 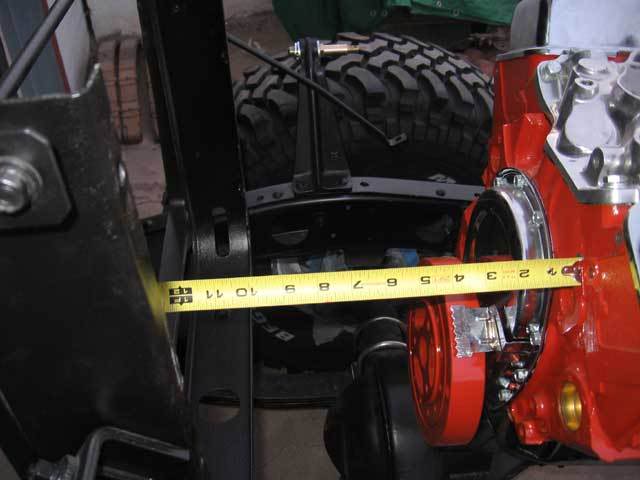
| |
| Following the advice of both Advance Adapters and Downey, I offset my engine slightly to toward the driver's side. Right in front of the engine, I measured the distance between the frame rails to be 24 1/2". Half way would have put the centerline at 12 1/4". I offset the engine 3/4" toward the driver's side, making the distance from the passenger side frame rail exactly 13". | 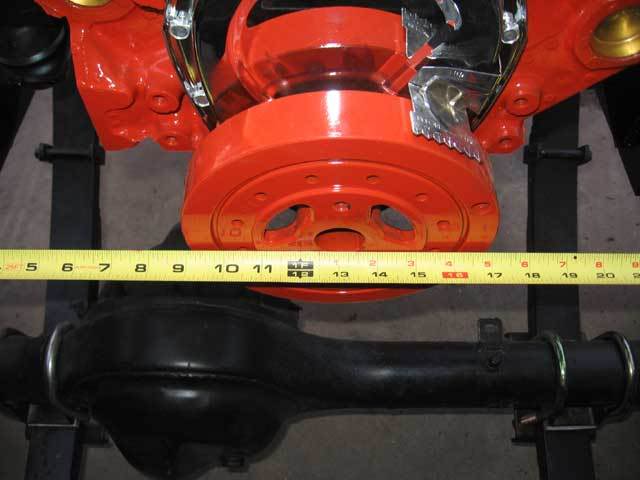
| |
| Just some more shots of the whole works all installed. Notice the new ($$$) parking brake cable and speedometer cable. I hope that they are long enough with the added length of the new transmission. | 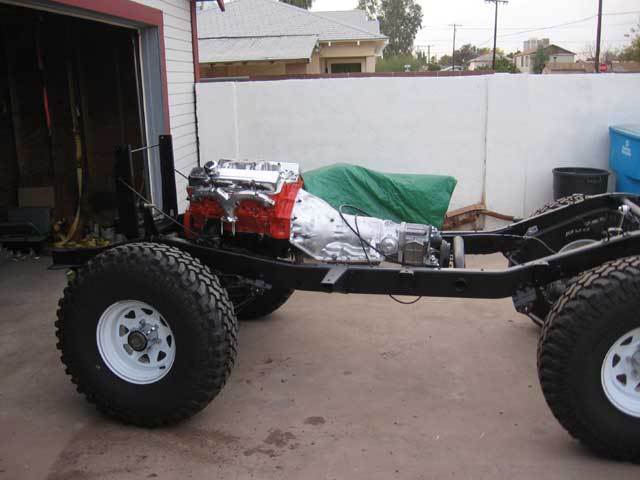
| 
|
|
|
# posted by brian dunnington @ 4/01/2005 09:00:00 AM
